
This brown butter French apple cake is filled with tender apple chunks and finished with thin apple slices and a sprinkle of sugar. Made with Gala and Honeycrisp apples, vanilla, and a little cinnamon, it’s especially lovely with a scoop of homemade ice cream.
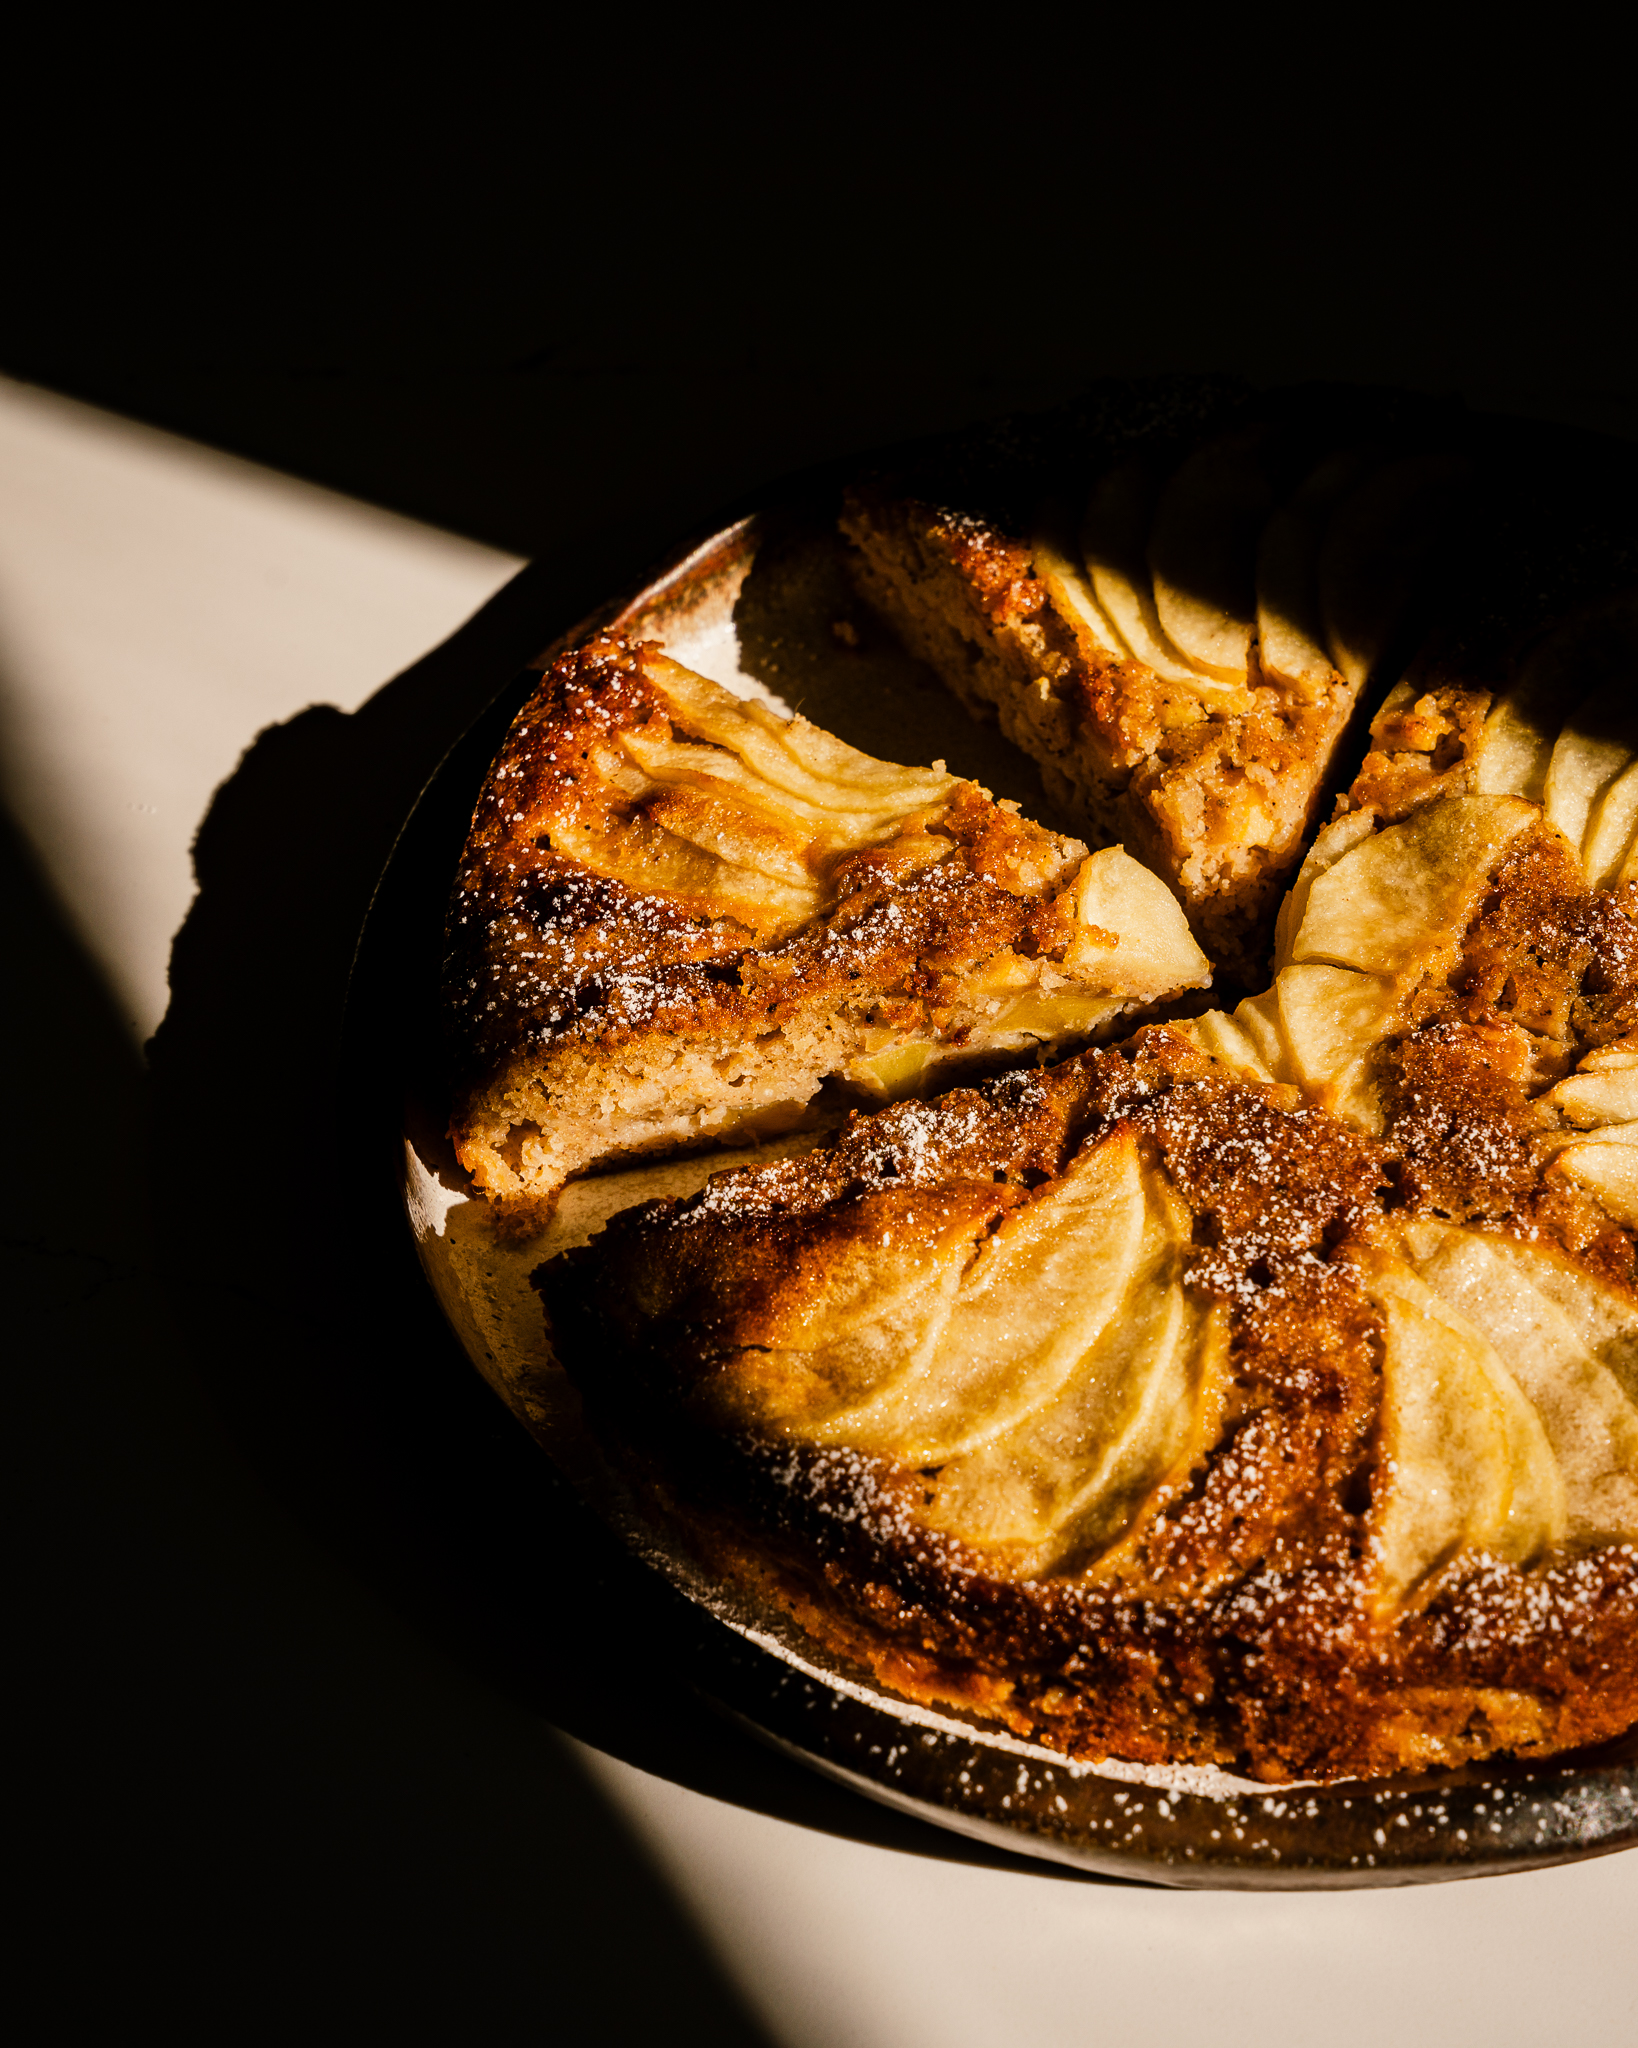
My mom’s apple cake, with actual measurements
My mom would make apple cake all the time. But asking her for the recipe was a different story.
“Oh, it’s so easy. It’s just a cup of this, some apples, a little of that…”
Okay, but how much?
“I just use a cup.”
The cup in question? A teacup.
Not a measuring cup. Just her teacup, with the rest of the recipe stored in her head. And somehow, it always came out.
If you’ve ever tried getting a recipe from your mom, you probably know exactly what I mean. She’s explaining it like it’s the easiest thing in the world, and you’re still wondering how much flour to put in the bowl.
This isn’t an exact transcription of her recipe, because I’m not sure I could ever get one. It’s my own version of the apple cake she would make, with brown butter, a little cinnamon, and actual measurements. So you can bake it without wondering whether your teacup is the right size.
Apple chunks inside, apple slices on top
I wanted both: tender apple pieces in every bite and a pretty arrangement of slices on top.
This is an apple-heavy cake rather than a tall, fluffy sponge with a few pieces of fruit scattered through it. The batter coats the apple chunks and bakes around them, giving you a soft, buttery crumb between the pieces.
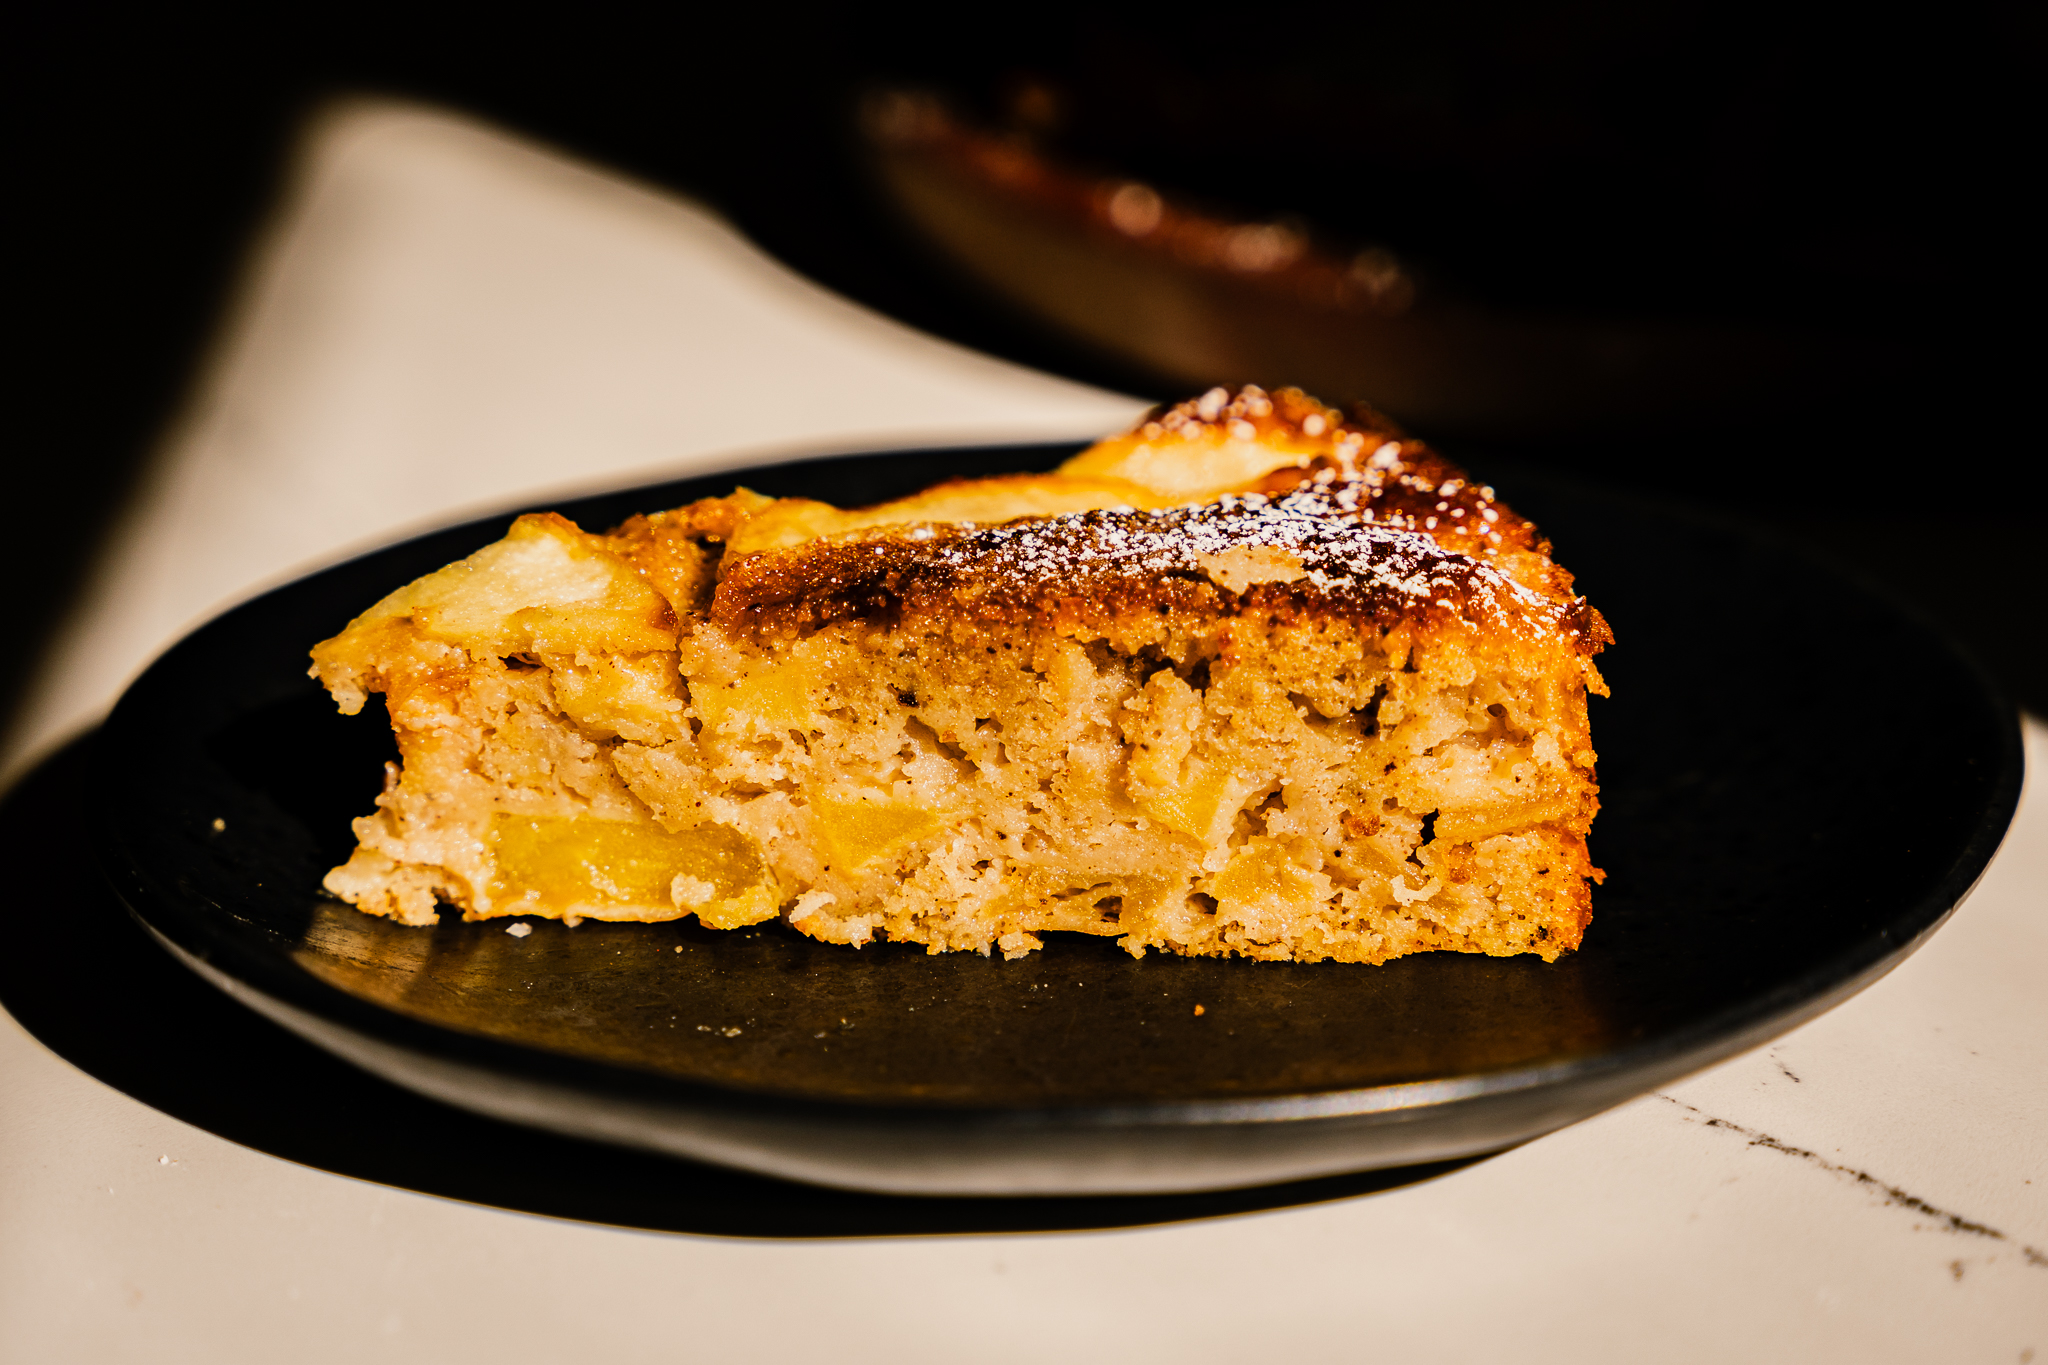
The thin slices on top soften during baking, while a sprinkle of sugar adds a lightly crisp finish. Brown butter gives the cake a nutty depth, and half a teaspoon of cinnamon brings warmth without taking over.
Ingredients you’ll need
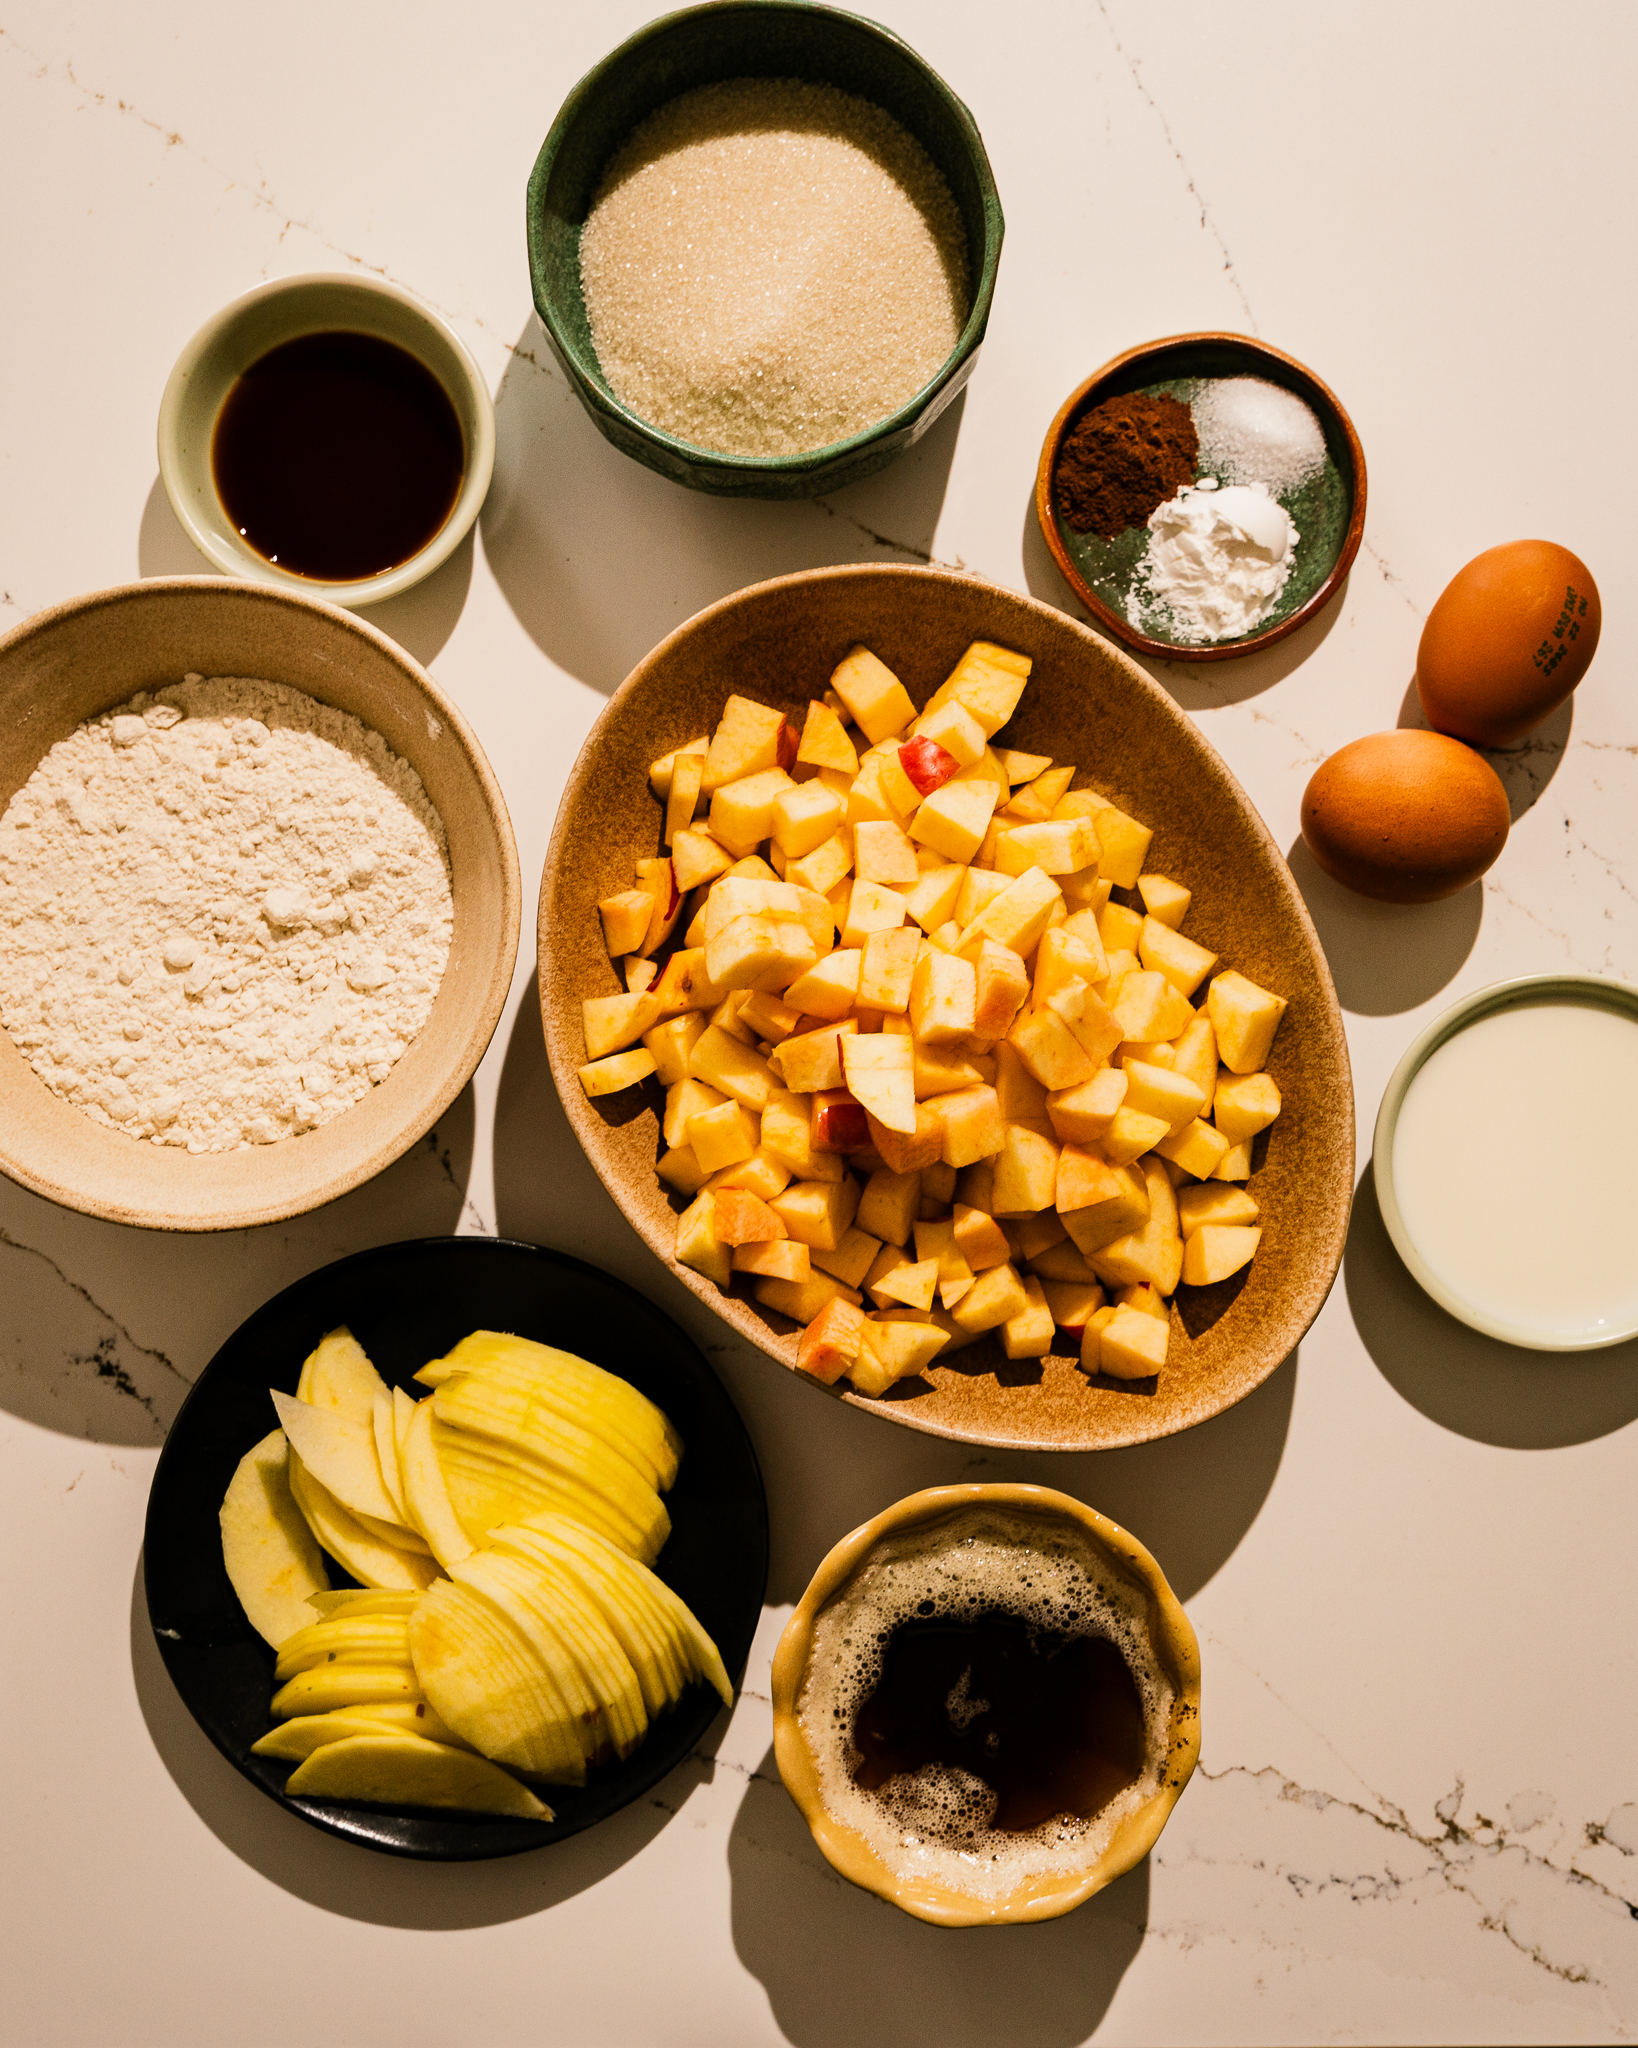
- Gala and Honeycrisp apples: These are the varieties I used. You’ll need 450 g of peeled, cored apple chunks for the batter, plus an additional apple for the topping. There’s no need for an exact ratio between the varieties.
- Browned unsalted butter: You’ll need 95 g after browning, including the golden brown bits.
- All-purpose flour: Gives the apple-filled cake structure.
- Baking powder: For a little lift.
- Cinnamon and fine salt: Add warmth and balance.
- Eggs: Two large eggs, at room temperature.
- Granulated sugar: For the batter and a little on top. I use organic cane sugar.
- Vanilla extract: Complements the apples and brown butter.
- Whole milk: Use it at room temperature so it combines easily with the other ingredients.
How much brown butter do you need?
For this recipe, measure 95 g of finished browned butter.
Browning butter evaporates some of its water, so its starting weight and finished weight are different. About ½ cup (113 g) of butter will usually leave roughly 90–95 g after browning.
I browned a larger batch and measured out what I needed for the cake. You can do the same: stir the browned butter to distribute the golden milk solids, then weigh out 95 g.
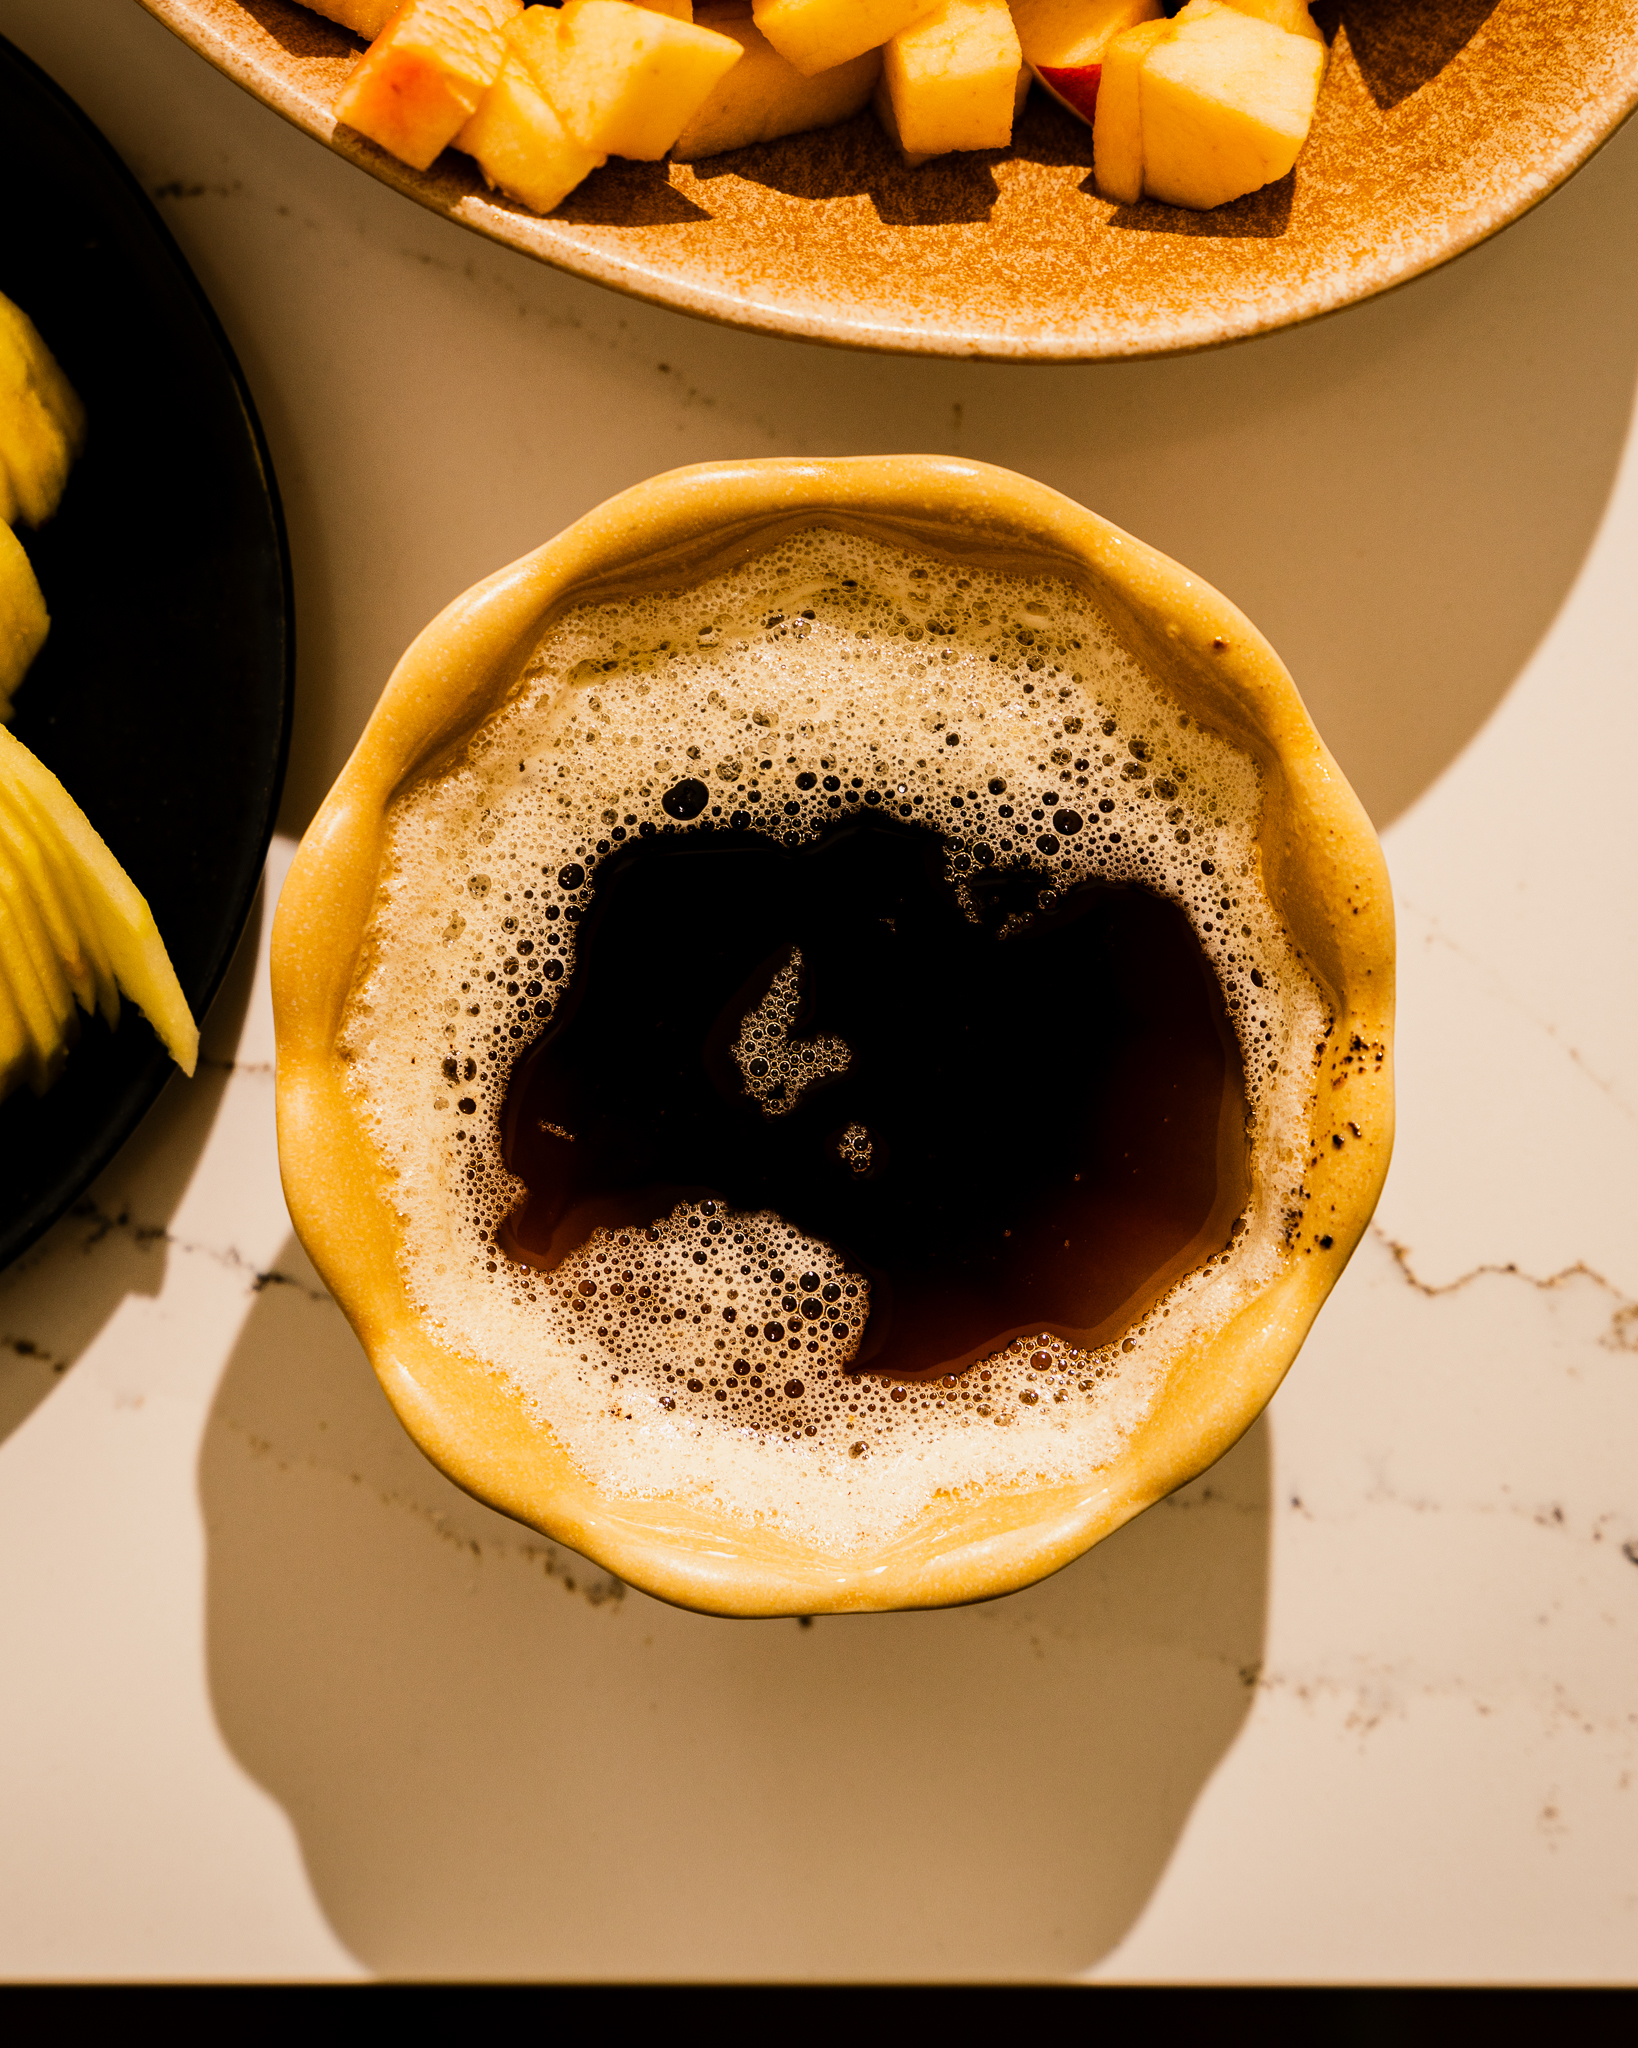
If you brown only 113 g and finish with 90–95 g, use the whole amount. That small difference is fine for this cake; there’s no need to bring it back up to 113 g.
Equipment for this recipe
No stand mixer or food processor needed. A whisk and spatula are enough.
A 9-inch springform pan lets you release the cake without turning over the apple topping. Grease it well and line the base with parchment.
A digital kitchen scale makes it easy to measure both the prepared apples and the finished browned butter.
A light-coloured saucepan is helpful for watching the butter change colour as it browns.
How to make French apple cake
1. Brown and measure the butter
Melt the butter over medium heat, stirring frequently. It will foam before the milk solids turn golden brown and smell nutty.
Immediately scrape it into a heatproof bowl. If you’re working from a larger batch, stir and weigh out 95 g, including some of the browned bits. Let cool until warm, not hot.
2. Prepare the apples
Peel and core the apples, then weigh out 450 g for the batter. Cut them into roughly ½-inch chunks.
Thinly slice the additional apple for the top, aiming for slices about ⅛ inch thick.
3. Mix the batter
Whisk the flour, baking powder, cinnamon, and salt together.
In another bowl, whisk the eggs and sugar for about a minute, until slightly pale and foamy. Whisk in the vanilla, milk, and cooled brown butter.
Gently fold in the dry ingredients, followed by the apple chunks. The mixture will look very full of apples.
4. Arrange the topping
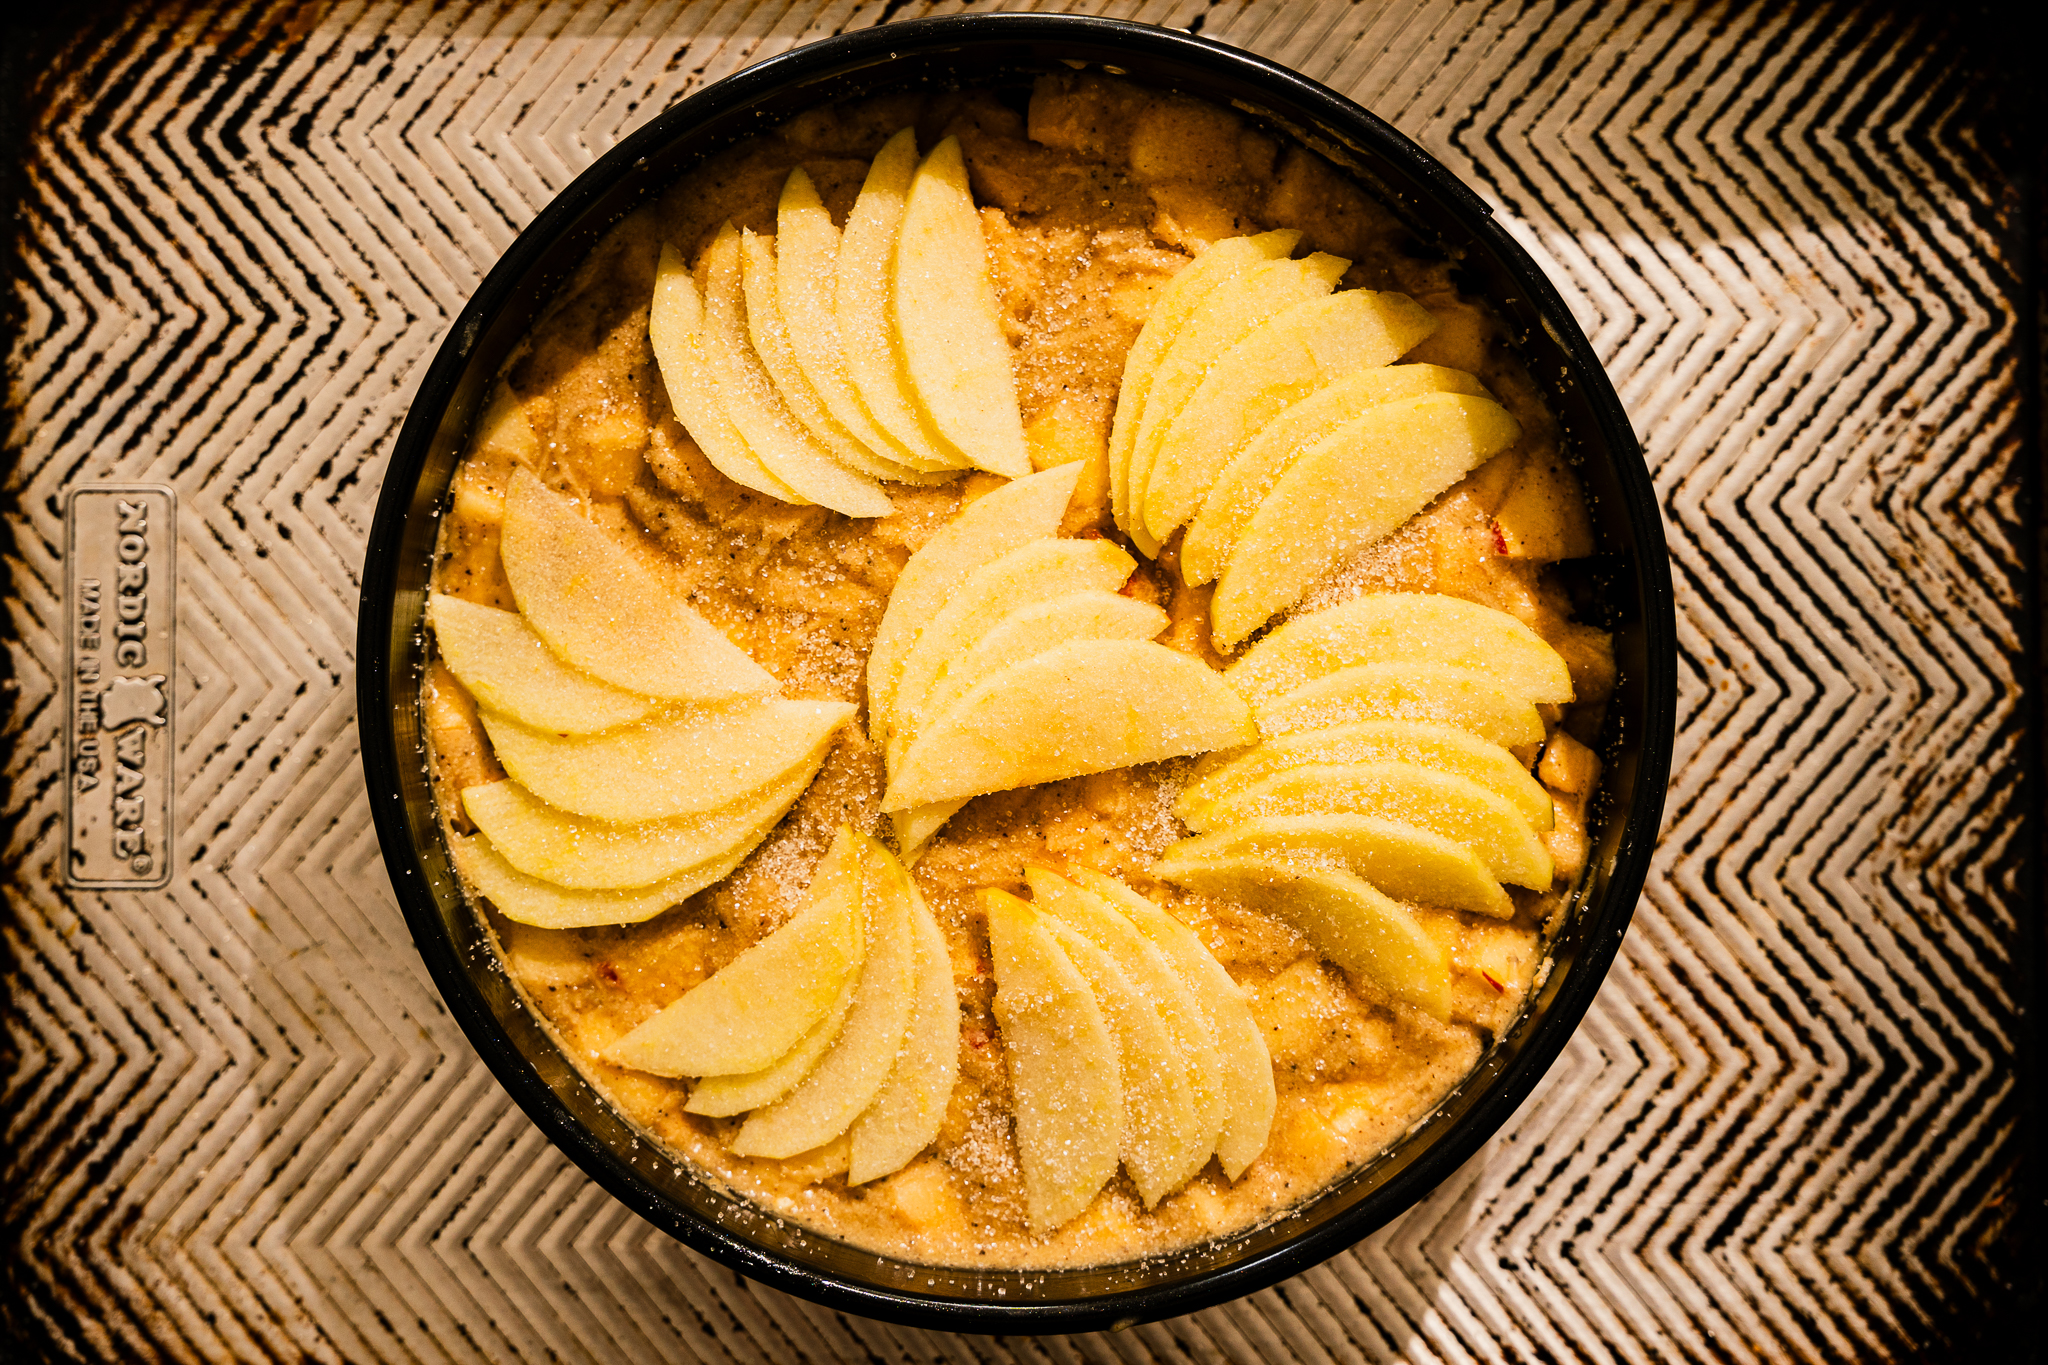
Spread the batter evenly in the prepared pan. Arrange the apple slices in a loose fan or overlapping circle, leaving a little batter visible.
Keep the topping to one light layer. You may not need every slice from the extra apple.
Sprinkle the tablespoon of sugar over the top.
5. Bake and cool
Bake at 350°F (175°C), beginning your checks at 45 minutes. Mine took approximately 50 minutes, followed by a brief broil for more colour on the topping.
Check that the centre is set and a skewer inserted into the cake rather than an apple piece comes out without wet batter.
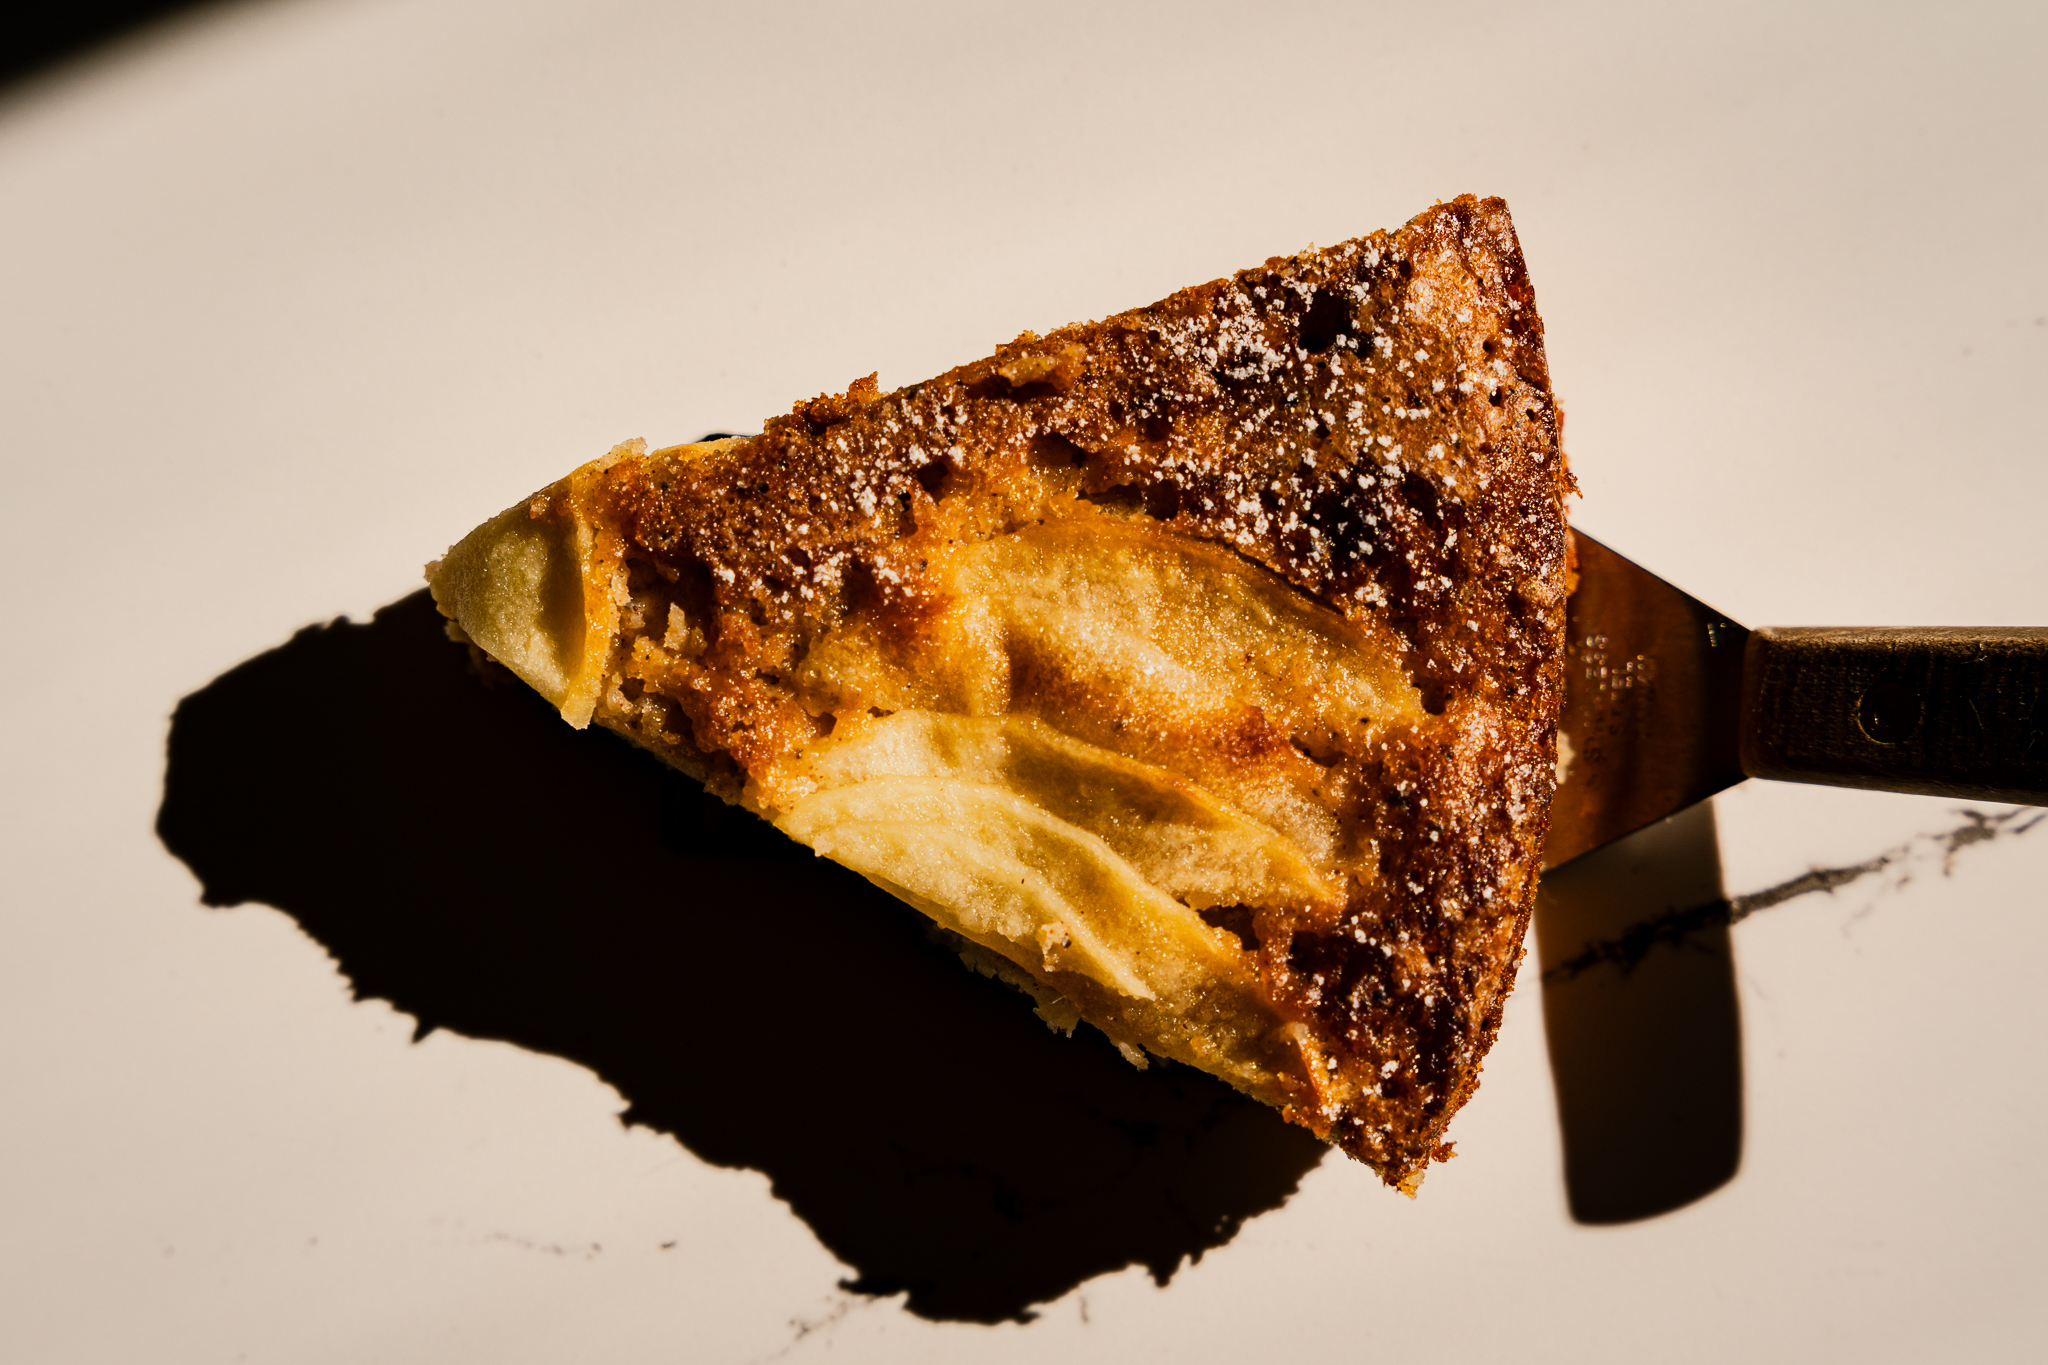
Let cool in the pan for 20 minutes before removing the springform ring, then at least another 20 minutes before slicing. Fully cooled cake will give you the neatest slices.
Tips for this apple cake
- Weigh the prepared apples. The 450 g measurement is after peeling and coring.
- Include the browned bits. They carry much of the brown butter’s flavour.
- Cut consistent apple chunks. Evenly sized pieces cook more evenly.
- Keep the topping light. Avoid piling the slices into several layers.
- Check for wet batter, not moist apple. Test a patch of cake near the centre.
- Broil only after baking. It’s an optional finishing step, not a way to cook an underdone centre.
If the top browns before the centre finishes, loosely cover it with foil and continue baking.
Serve it with homemade ice cream
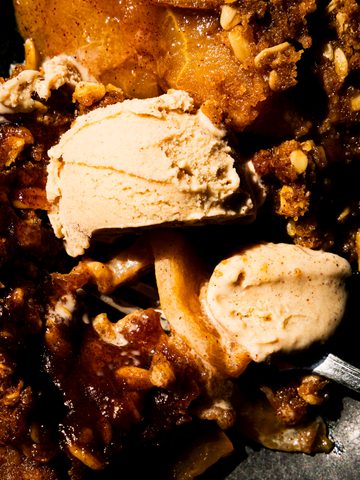
A slice with coffee is lovely on its own. But slightly warm apple cake with ice cream melting into it is something special.
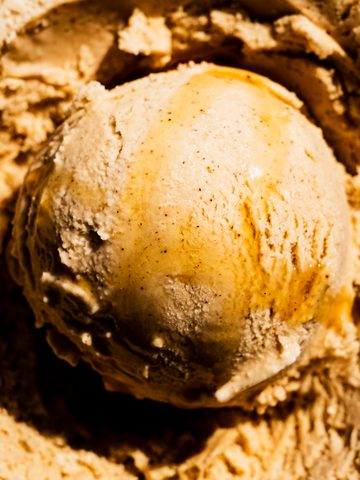
My salted honey ice cream would be beautiful here. Honey complements the apples, while the salt balances the sweetness.
For more autumn spice, try maple chai ice cream. The maple and chai flavours pair beautifully with the brown butter and cinnamon.
Add your scoop just before serving.
Make-ahead and storage
Bake the cake the evening before serving, and let it cool completely before covering.
Keep covered at room temperature overnight in a cool kitchen. For longer storage, refrigerate in an airtight container and enjoy within four days.
Bring refrigerated slices to room temperature before serving, or warm them gently before adding ice cream.
More recipes to try
Brown Butter French Apple Cake
Equipment
- 9-inch springform pan
- Digital kitchen scale
- Heatproof bowl
- Mixing Bowls
Ingredients
- 95 g browned unsalted butter measured after browning, including the browned bits; see notes
- 450 g Gala and Honeycrisp apples weighed after peeling and coring, cut into ½-inch chunks; approximately 3 medium apples
- 1 additional Gala or Honeycrisp apple peeled, cored, and thinly sliced for the top
- 1 cup all-purpose flour
- 1 teaspoon baking powder
- ½ teaspoon ground cinnamon
- ¼ teaspoon fine salt
- 2 large eggs room temperature
- ¾ cup granulated sugar
- 2 teaspoon vanilla extract
- ¼ cup whole milk, room temperature
- 1 tablespoon granulated sugar, for the top
- Extra butter for greasing the pan
Instructions
- Prepare the pan. Preheat the oven to 350°F (175°C). Grease a 9-inch springform pan and line the base with parchment paper.
- Brown the butter. Melt the unsalted butter in a small saucepan over medium heat, stirring frequently. Continue cooking as it foams until the milk solids turn golden brown and smell nutty. Immediately scrape into a heatproof bowl. Stir and measure out 95 g, including the browned bits. Let cool until warm, not hot.
- Prepare the apples. Peel, core, and chop enough Gala and Honeycrisp apples to give you 450 g of ½-inch chunks. Slice the additional apple about ⅛ inch (3 mm) thick for the topping.
- Mix the dry ingredients. Whisk the flour, baking powder, cinnamon, and salt together in a medium bowl.
- Mix the wet ingredients. In a larger bowl, whisk the eggs and ¾ cup sugar for about 1 minute, until slightly pale and foamy. Whisk in the vanilla, milk, and cooled brown butter.
- Combine. Gently fold in the dry ingredients just until no dry flour remains, then fold in the apple chunks.
- Add the topping. Spread the batter evenly in the pan. Arrange the apple slices in a lightly overlapping circle or fan, keeping to one layer and leaving some batter visible. Sprinkle with the remaining tablespoon of sugar.
- Bake. Bake on the middle oven rack for 45–55 minutes, or until the centre is set and a skewer inserted into cake, avoiding apple pieces, comes out without wet batter. Continue in 5-minute increments if needed. Loosely cover with foil if the top browns before the centre finishes.
- Optional broiled finish. Once fully baked, broil for 30–60 seconds if you would like more colour on the apple topping. Watch continuously and remove as soon as it is golden. Ensure the pan is broiler-safe, and no exposed parchment is near the element.
- Cool. Let cool in the pan for 20 minutes. Run a thin knife around the edge and release the springform ring. Cool for at least another 20 minutes before slicing, or cool completely for cleaner slices.
Leave a Reply